Quickstart Tutorial
Getting started with bottest.ai is easy and fast. This guide will help you go from square one to running your first Test in just a few minutes. If you prefer a video to follow along the tutorial feel free to check out the Quickstart Tutorial Video (opens in a new tab).
Create a bottest.ai account
If you haven't already, create an account (opens in a new tab) or log in (opens in a new tab) to bottest.ai to make sure you are authenticated.
Download the Chrome Extension
All Tests are recorded in the browser using the bottest.ai Chrome Extension. You can download the extension here (opens in a new tab).
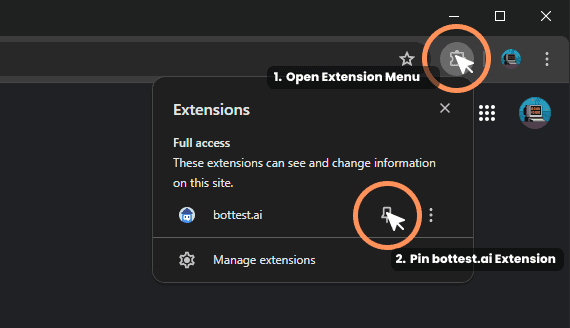
You will want to pin the bottest.ai Chrome Extension for easy access:
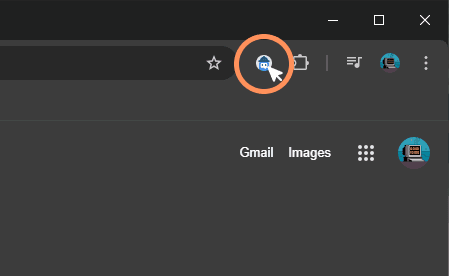
Now, you should be able to access the bottest.ai extension by clicking the icon in the top right of your Chrome browser:
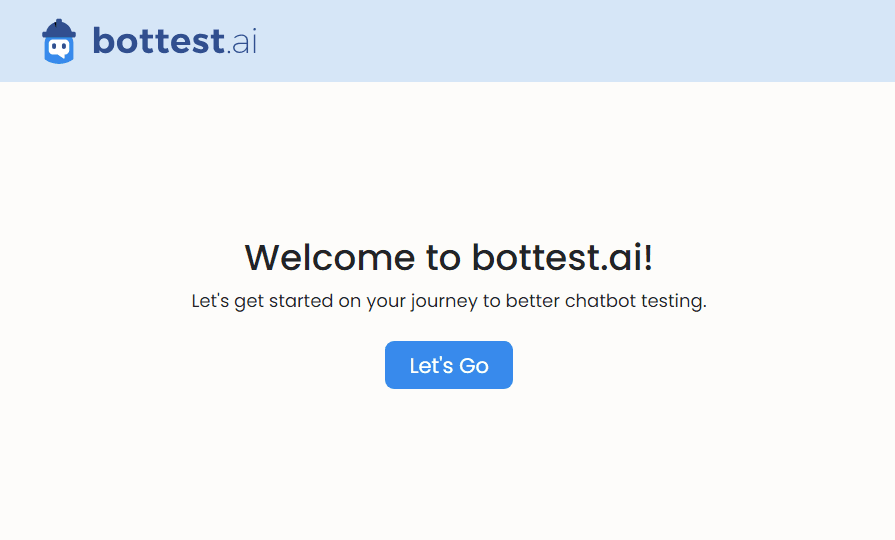
When you open the extension you should see the following:
Record a Test
-
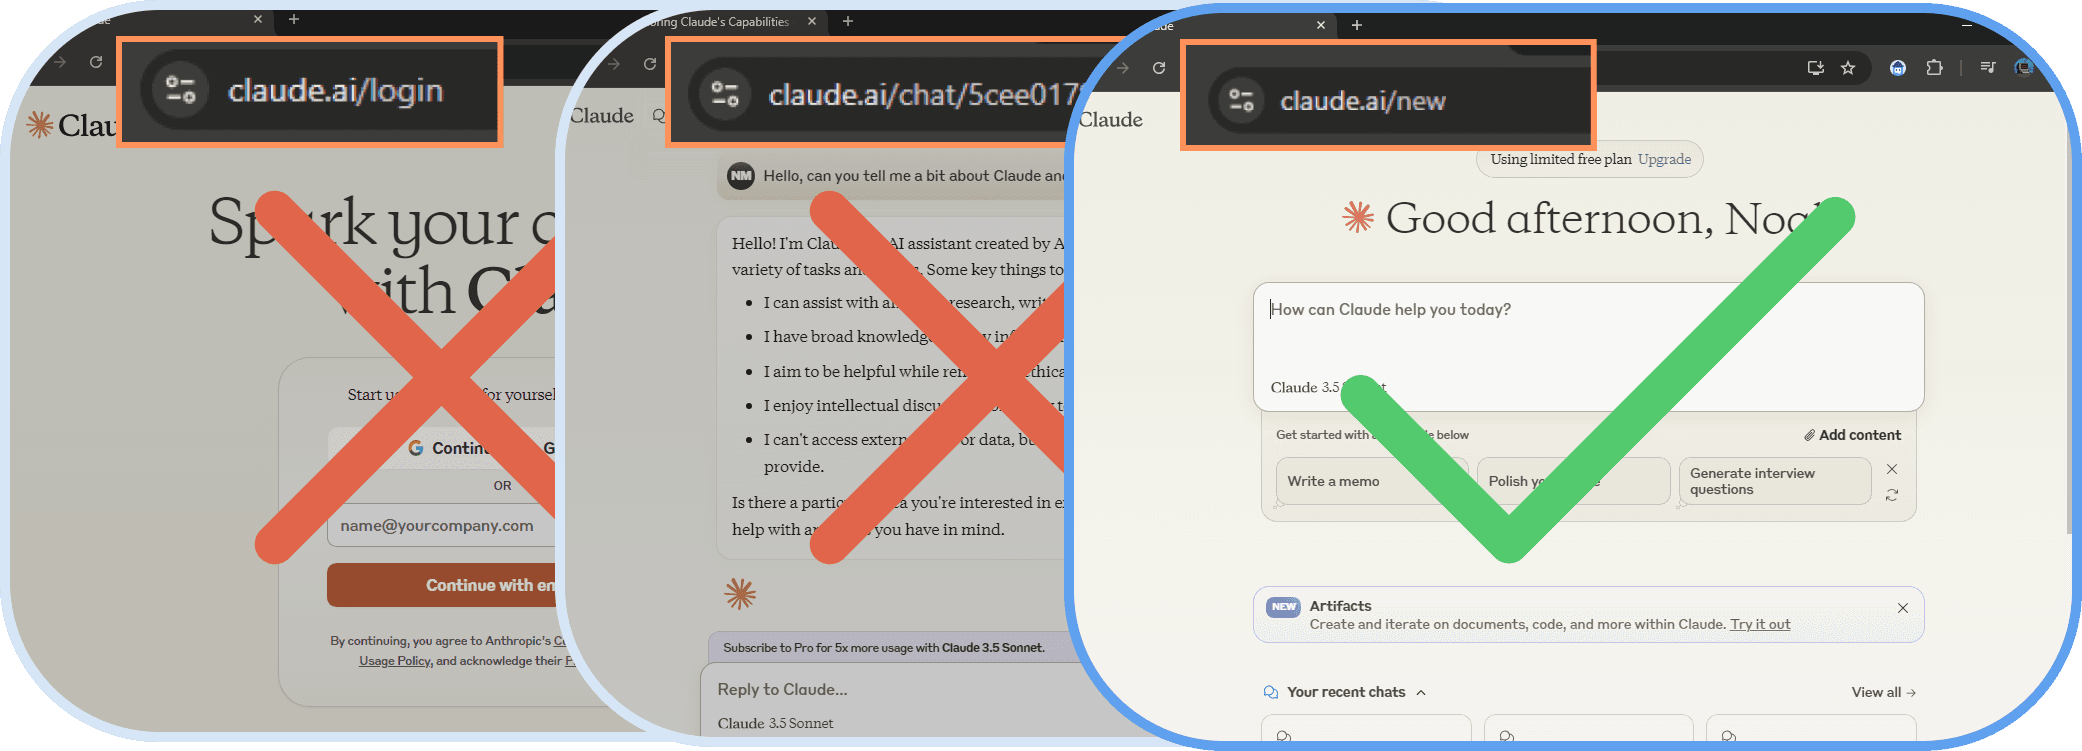
First, open a Chrome tab at the URL where your chatbot is located (ie: a customGPT (opens in a new tab)).
-
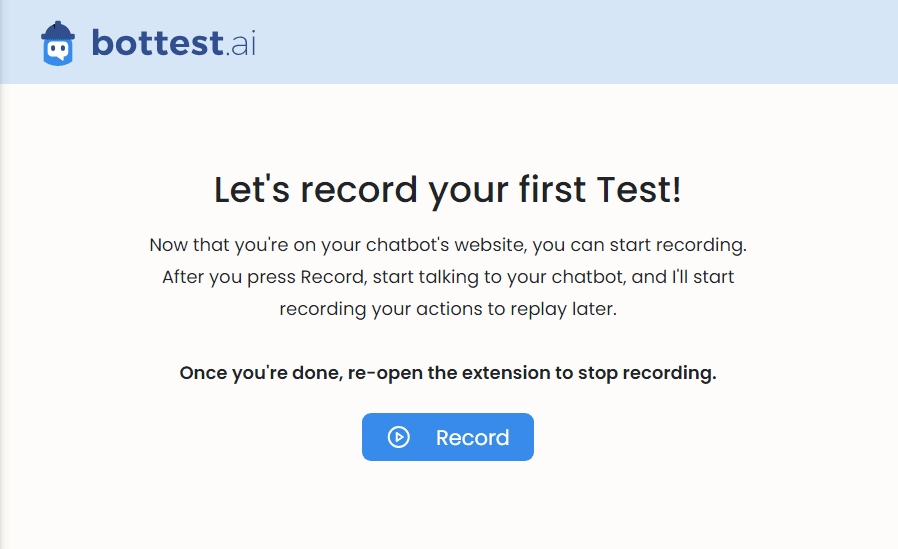
Then, open the bottest.ai extension. After clicking "Let's Go" on the initial welcome page, you should see the below screen.
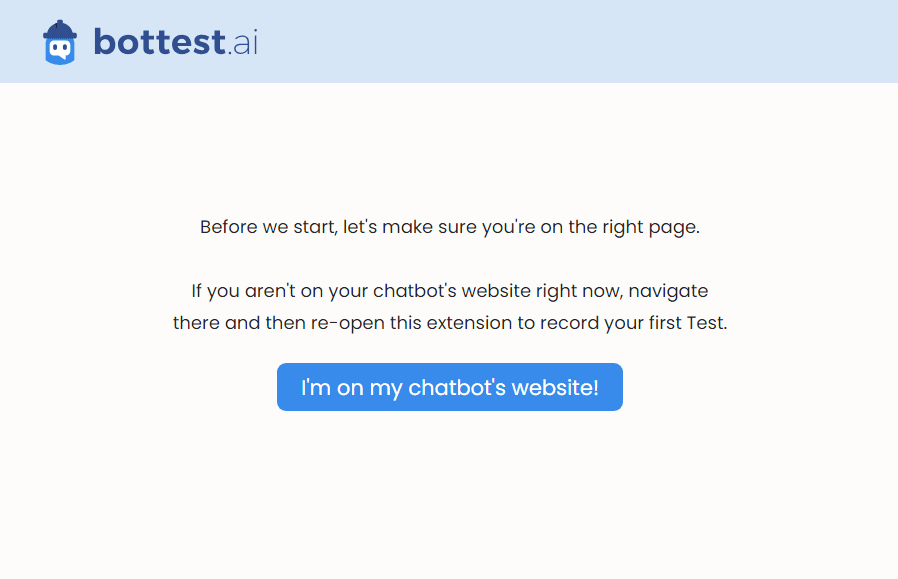
- Double check that the tab you are currently on is the correct one with your chatbot's interface. You need to be logged in to your chatbot's website and on the URL where you will start talking with the chatbot in a new conversation.
Once you have double checked that, click "I'm on my chatbot's website" on the extension and go to the next step.
- Press the "Record" button, and then start sending messages to your chatbot. The questions you ask your chatbot will be stored as the prompts for the Test, and the answers that the chatbot gives will be stored as a Baseline to compare future responses against. You will need to re-open the extension to stop the recording once you finish your conversation.
bottest.ai will never record your interactions outside of this Test recording state, or without your permission. Please visit our Privacy Policy (opens in a new tab) and Terms of Service (opens in a new tab) for more information on how we use your data.
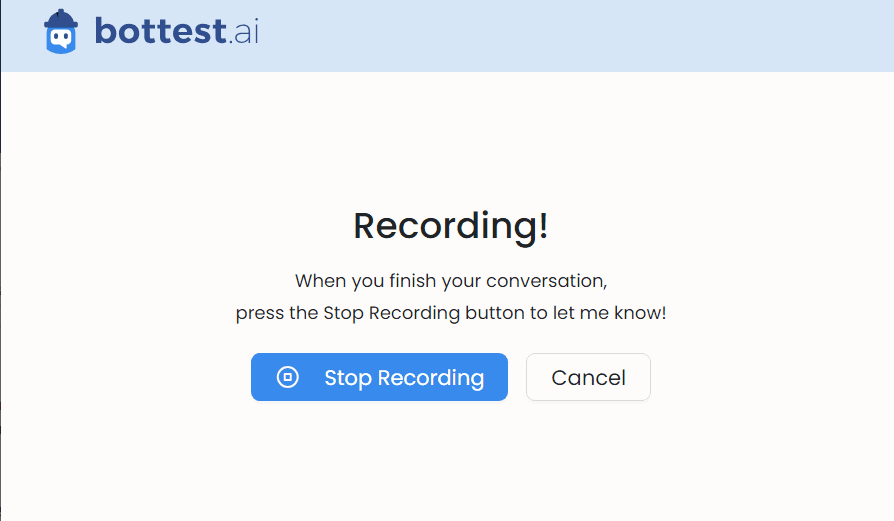
- When you have finished your conversation, re-open the Chrome Extension and press the "Stop Recording" button. You can then name your newly recorded Test. If you want to re-record your Test, press the "Cancel" button to delete your recording.
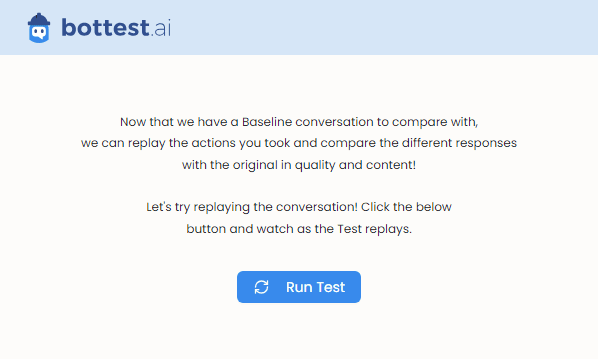
Replay the Test
After creating your Test, you'll be instructed to run it. After you press the "Run Test" button on the extension, a new tab will open and your questions are re-asked to the chatbot. The new responses your chatbot gives will be sent to bottest.ai and compared against the original recorded (Baseline) responses.
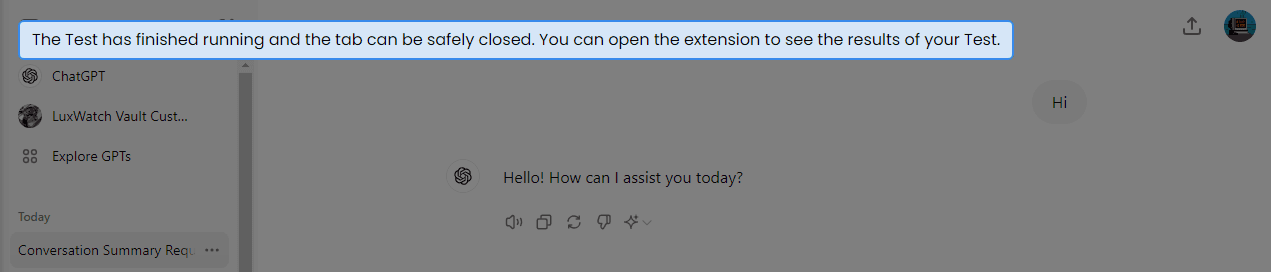
After the extension finishes replaying the Test, you'll see the following message onscreen. You can then open the extension and view your results in the extension Dashboard.
Review the results
When first opening the bottest.ai Chrome Extension Dashboard, there will be a Product Tour to help get you oriented with the UI. The bottest.ai Chrome Extension Dashboard enables you to Create new Tests, Run Tests, and view Pass/Fail Results.
You should see in the Dashboard that your Test is listed with a status next to it.

If the status still says "Running," it's because the chatbot responses are still being evaluated and compared against the Baseline. This may take a few seconds depending on the length of the conversation.
Congratulations! You've successfully recorded and replayed your first Test!
Next Steps
The customization and control from just the Chrome Extension view is limited. You'll want to explore the rest of the features that bottest.ai has to offer in the main Dashboard (opens in a new tab).
You can get started with our guide on the Dashboard.